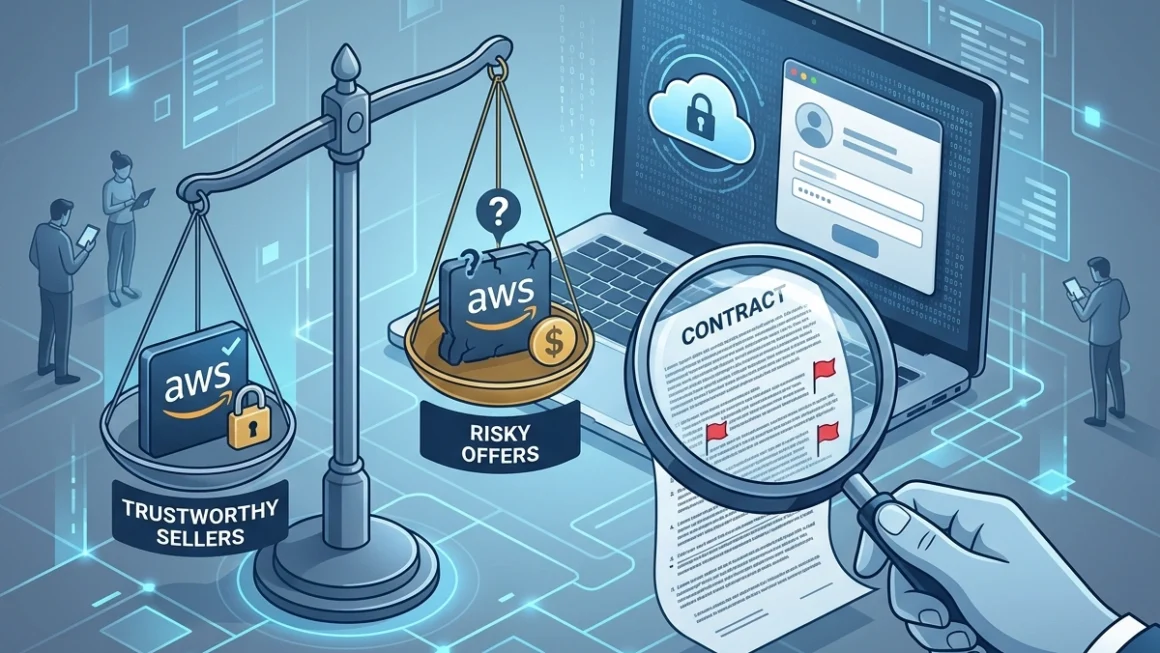
You’ve spent months coding, designing, and testing your mobile application. It functions perfectly on your simulator, and you are finally ready to share it with the world. But there is one crucial hurdle left before you can reach the millions of iPhone and iPad users globally: getting into the App Store. To do that, you need an iOS Developer Account.
Navigating Apple’s ecosystem can feel intimidating at first. The process involves strict verification, specific enrollment steps, and a financial commitment. However, it is the only gateway to distributing apps on one of the most profitable marketplaces in the digital world.
This guide walks you through the entire process of buying an iOS Developer Account. We will cover everything from creating your initial ID to pressing that final “Submit” button for your first app.
Why You Need an iOS Developer Account
Before we dive into the “how,” let’s clarify the “why.” You might wonder if you can bypass this step or if there are free alternatives. While you can deploy apps to your own device for testing using a free Apple ID, you cannot distribute them to others without a paid membership.
The Apple Developer Program provides more than just a publishing license. It grants you access to beta software, advanced app capabilities (like SiriKit, Apple Pay, and iCloud), and comprehensive analytics tools to track your app’s performance. Most importantly, it gives you the credibility of being a verified developer on the App Store, which is vital for building trust with potential users.
Step 1: Create or Prepare Your Apple ID
Every Buy IOS Developer Account starts with an Apple ID. This is your personal login for all things Apple.
Using an Existing ID vs. Creating a New One
You have a choice to make immediately. Do you use your personal Apple ID or create a dedicated one for your development work?
For hobbyists or solo developers, using a personal ID is often fine. However, if you are building a business or plan to work with a team later, creating a separate Apple ID is highly recommended. This keeps your personal purchases (like music and movies) separate from your professional assets.
How to Create a New Apple ID
- Go to the Apple ID website (appleid.apple.com).
- Click on “Create Your Apple ID.”
- Fill in the required information, including your name, birthdate, and email address.
- Set up strong security questions and enable Two-Factor Authentication (2FA).
Critical Note: Two-Factor Authentication is mandatory for enrolling in the Apple Developer Program. You must have an Apple device (iPhone, iPad, or Mac) or a trusted phone number to receive verification codes. Apple will not let you proceed without this security layer.
Step 2: Enroll in the Apple Developer Program
Once your Apple ID is ready and secured with 2FA, you can begin the enrollment process.
- Visit the Developer Site: Navigate to developer.apple.com.
- Start Enrollment: Click on “Account” in the top menu and sign in with your Apple ID. You will see an option to “Join the Apple Developer Program.”
- Download the App (Optional but Recommended): While you can enroll via the web, Apple strongly encourages using the “Apple Developer” app available on the App Store. The process is often smoother and faster through the app, especially for identity verification.
Choosing Your Enrollment Type
During enrollment, you must select an entity type. This choice is permanent and affects how your name appears in the App Store.
- Individual / Sole Proprietor: This is for a single person. Your personal name will appear as the “Seller” in the App Store. No extensive legal documentation is required beyond your personal identity verification.
- Organization: This is for companies, non-profits, or educational institutions. The “Seller” will be your organization’s legal name. To choose this, you need a D-U-N-S Number (a unique nine-digit identifier for businesses), legal entity status, and legal binding authority.
For most beginners, the Individual account is the fastest route. Organizations should be prepared for a verification process that can take a few days to a couple of weeks.
Step 3: Payment Process and Costs
Apple keeps its pricing model simple, but it is a recurring cost you must budget for.
The Annual Fee
The cost for the Apple Developer Program is $99 USD per year (pricing varies slightly by region due to currency conversion and taxes). Unlike the Google Play Store, which charges a one-time fee, Apple requires an annual renewal to keep your apps live on the store.
Making the Payment
- After filling in your enrollment details, you will be directed to the payment screen.
- You can pay using a valid credit or debit card.
- If you are enrolling as an individual, the card creates a subscription that usually auto-renews.
Fee Waivers
If you are a non-profit organization, educational institution, or government entity, you might be eligible to have this fee waived. You must apply for a fee waiver during the enrollment process, and it requires validation of your non-profit status.
Once payment is complete, you may need to wait. While some accounts activate instantly, others can take up to 48 hours for Apple to process. You will receive a confirmation email welcoming you to the program once everything is finalized.
Step 4: Setting Up Your Developer Account
With your membership active, you gain access to the App Store Connect and the Apple Developer Portal. These are the two command centers for your app business.
The Developer Portal (Certificates, Identifiers, and Profiles)
This technical backend is where you connect your code to Apple’s security systems.
- Certificates: These digital files prove that you are the creator of the code. You will create a “Distribution Certificate” here.
- Identifiers (App IDs): Every app needs a unique ID (usually looking like
com.yourname.appname). You register this unique string here. - Provisioning Profiles: These profiles bundle your certificate and App ID together, allowing your app to run on devices and be submitted to the store.
Modern versions of Xcode (Apple’s coding software) can manage much of this automatically (“Automatically manage signing”), which saves beginners from significant headaches.
App Store Connect
This is the business dashboard. Here, you will:
- Set up your banking and tax information (crucial if you plan to sell apps or use in-app purchases).
- Create the actual store listing for your app.
- View sales reports and crash analytics.
Step 5: The App Store Submission Process
You have built the app and bought the account. Now comes the big moment: submission.
Preparing Your Store Listing
Before uploading code, you must create a “Place” for your app in App Store Connect. You will need:
- App Name: Unique and descriptive.
- Privacy Policy URL: A mandatory link explaining how you handle user data.
- Screenshots: You need images for various screen sizes (iPhone 6.5″ display, 5.5″ display, iPad, etc.) showing your app in action.
- Description and Keywords: Write compelling copy that tells users why they need your app.
Uploading the Build
- Open your project in Xcode.
- Set your destination to “Any iOS Device (arm64).”
- Go to the “Product” menu and select “Archive.”
- Once the archive is created, the Organizer window will open. Click “Distribute App.”
- Follow the prompts to upload your build to App Store Connect.
The Review Process
Once the build is uploaded and your store listing is complete, you click “Submit for Review.” Apple’s review team checks every app manually. They look for bugs, crashes, broken links, and violations of their App Store Review Guidelines.
This review typically takes 24 to 48 hours. If rejected, don’t panic. Apple will provide a specific reason. Fix the issue, upload a new build, and reply to the reviewer. It is a normal part of the process.
Tips for First-Time App Publishers
Entering the App Store is competitive. Here are a few strategies to give your app the best chance of success.
- Read the Guidelines First: Before you code a single line, skim through Apple’s App Store Review Guidelines. Knowing what is prohibited (like hidden features or misleading content) saves you from building something that will never be approved.
- Test on Real Devices: The simulator on your Mac is great, but it doesn’t replicate the real world perfectly. Test your app on an actual iPhone to check performance, battery usage, and touch responsiveness.
- Invest in ASO (App Store Optimization): Just like SEO for websites, ASO helps users find your app. Use relevant keywords in your title and subtitle. Your app icon should be clean and recognizable even when small.
- Don’t Ignore Updates: Publishing is just the start. Users expect updates that fix bugs and add features. Abandoned apps lose visibility quickly.
Conclusion
Securing an iOS Developer Account is a commitment of both money and effort, but it is an essential investment for any serious developer. It transforms your project from a local file on your computer into a product available to billions of users.
By following these steps—setting up your ID, enrolling correctly, handling the fees, and navigating the submission process—you lay a professional foundation for your app development journey. The process ensures that the App Store remains a safe, high-quality ecosystem, and being a part of it puts you in the company of the world’s best developers.
Take it one step at a time. The thrill of seeing your app icon on the App Store for the first time is worth every bit of the effort.